An Irish traditional recipe made vegan! Using spelt flour, this vegan soda bread is not only easy to make, but high in protein!
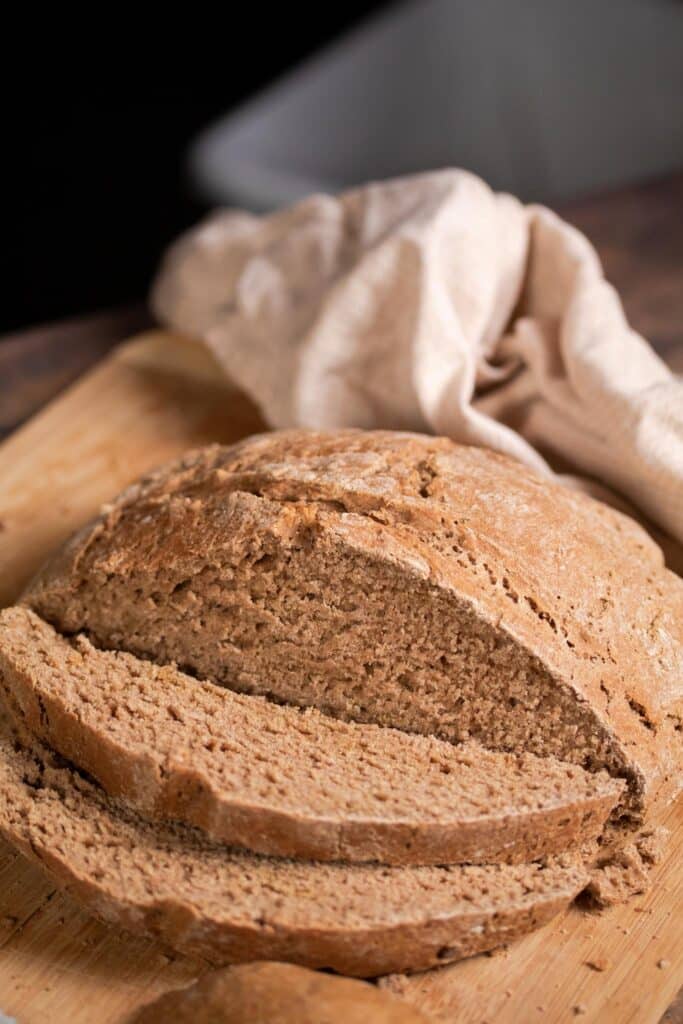
With ongoing bread shortages and supply chain issues, having the skill for making your own bread is important. Now if you are intimidated with baking or making bread, this will be the perfect recipe for you.
Soda bread is an Irish traditional recipe that uses no yeast and only requires 5 ingredients. It is super simple and easy to make!
This vegan soda bread has 8 grams of protein per slice because of 2 ingredients; spelt flour and high protein vegan milk.
High Protein Soda Bread
Spelt is an ancient grain that is often used in the Dr. Sebi Alkaline Vegan Community. It is easier to digest than regular wheat bread and has high protein content of around 5 grams per ¼ cup of flour.
The best high protein vegan milk is my homemade hemp seed sea moss milk with 10 grams of protein per cup! But also, soy milk works or Ripple brand milk for a soy free version.
Getting enough protein as a "curvy vegan" is very important to maintain or gain healthy weight. This recipe is perfect in helping you reach your protein needs.
Can this Bread be Stored for Longer Storage?
Yes which makes it an awesome option for meal prepping!
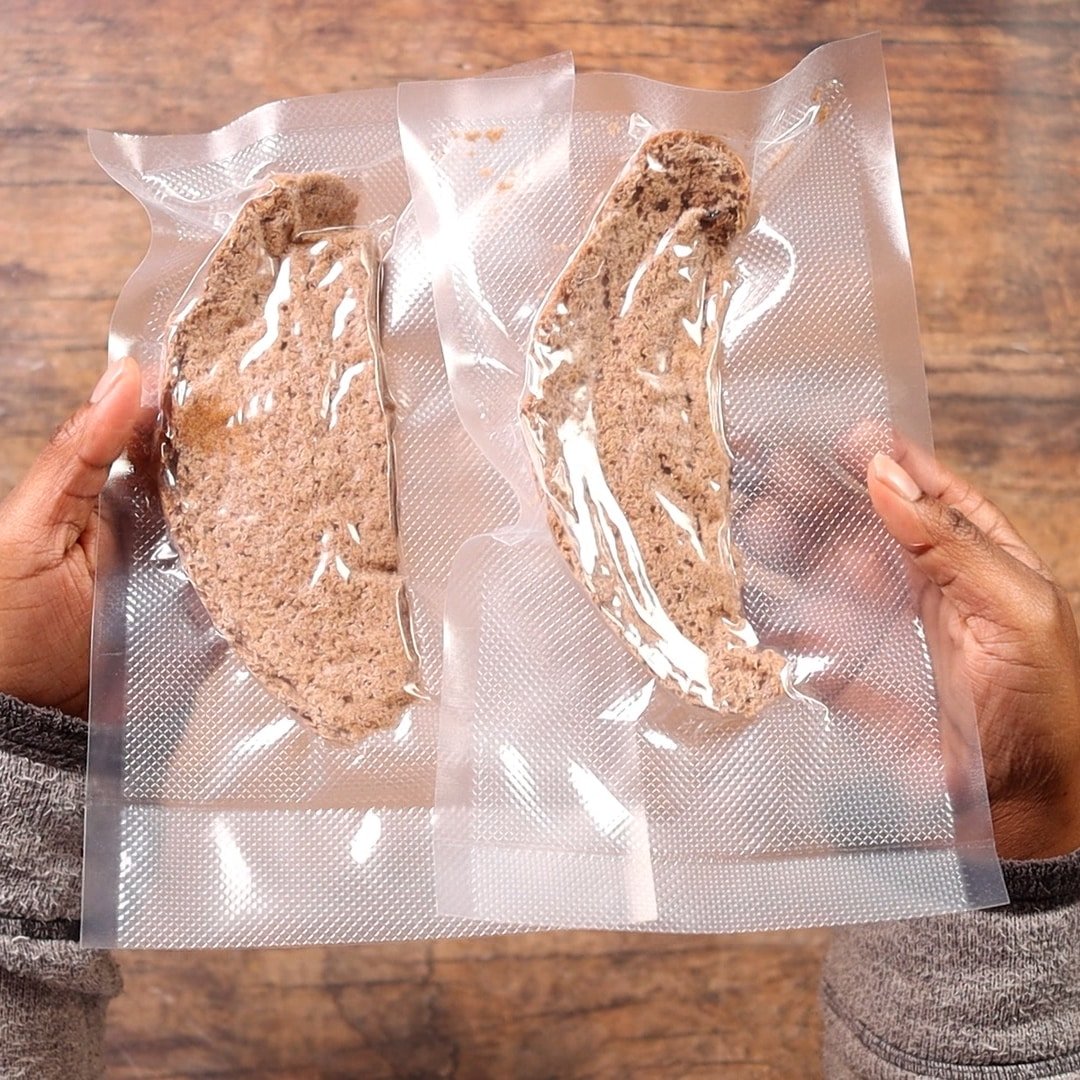
This bread will keep covered at room temperature for up to 3 days and in the freezer for up to 3 months. However it can last up to a 7 days at room temperature and 1 year in the freezer when it is vacuum sealed.
I use Anova Culinary Vacuum Sealer and Avid Armor Vacuum Sealer Bags recommended by a good friend and fellow blogger Amy from Gourmet Done Skinny. I love this machine because it is inexpensive so easy to use.
Here is how to use this sealer.
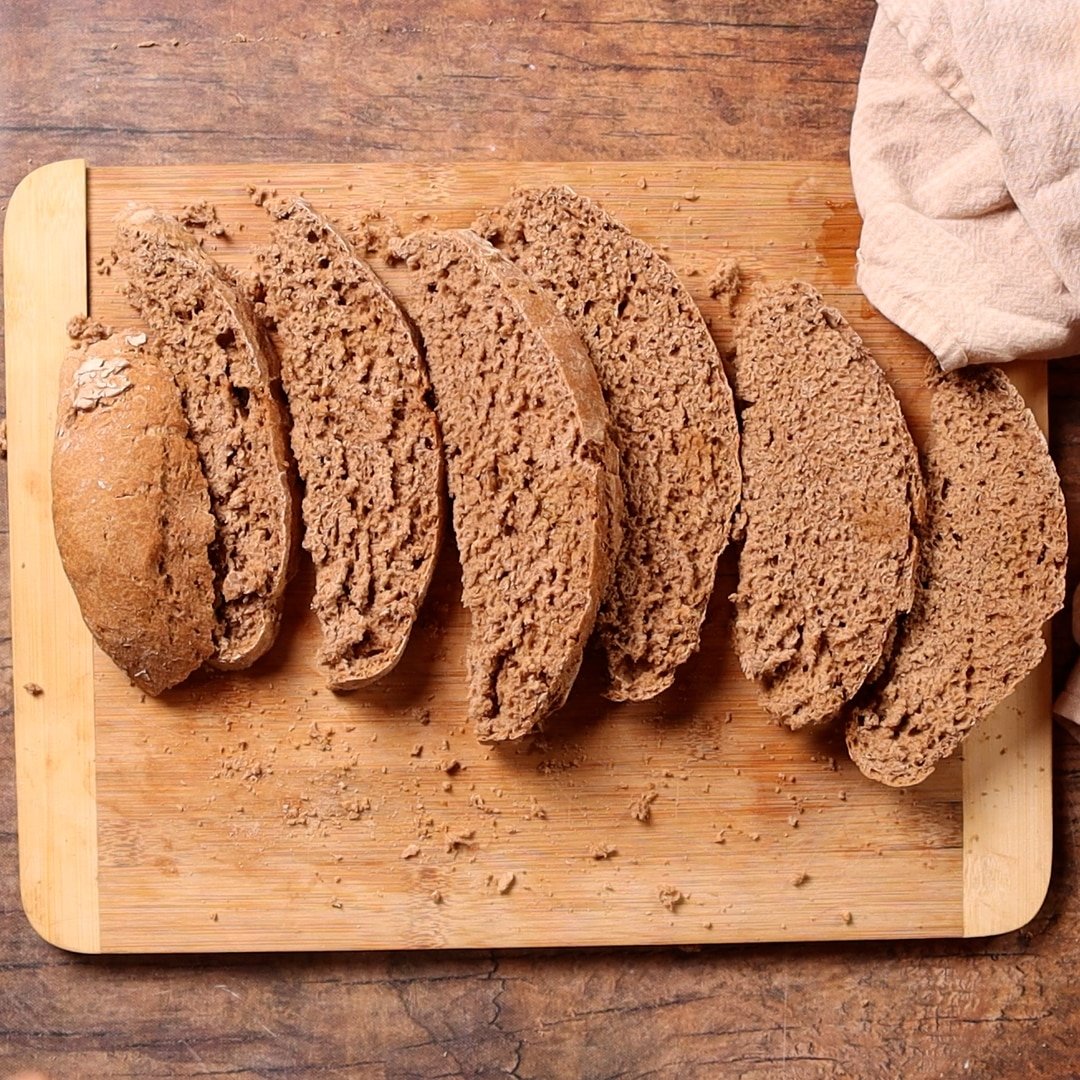
- Slice your bread up in individual slices. You could freeze it whole but it is easier to do so when you have slices. Plus it is already portioned for you when you want to reheat it. (Step 1)
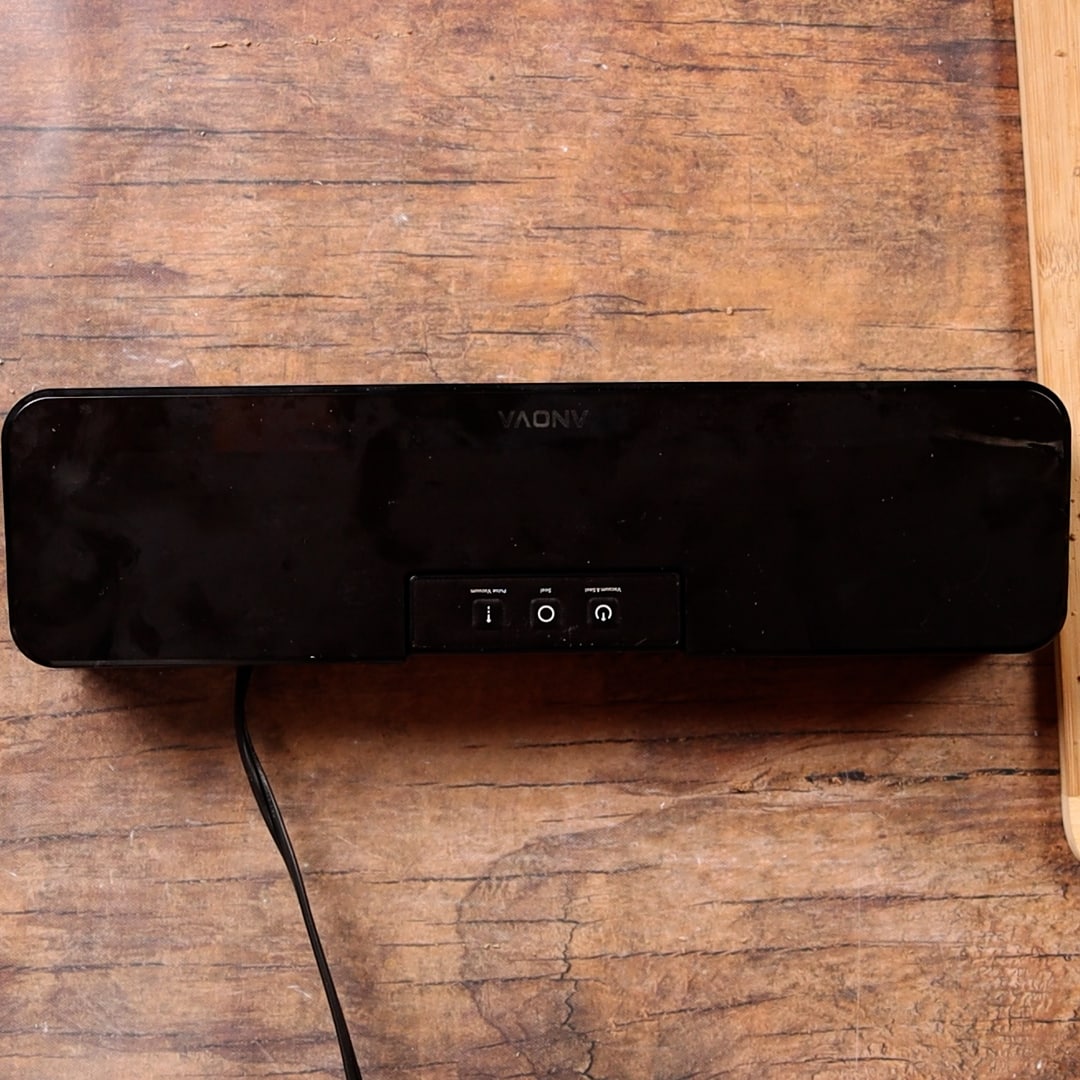
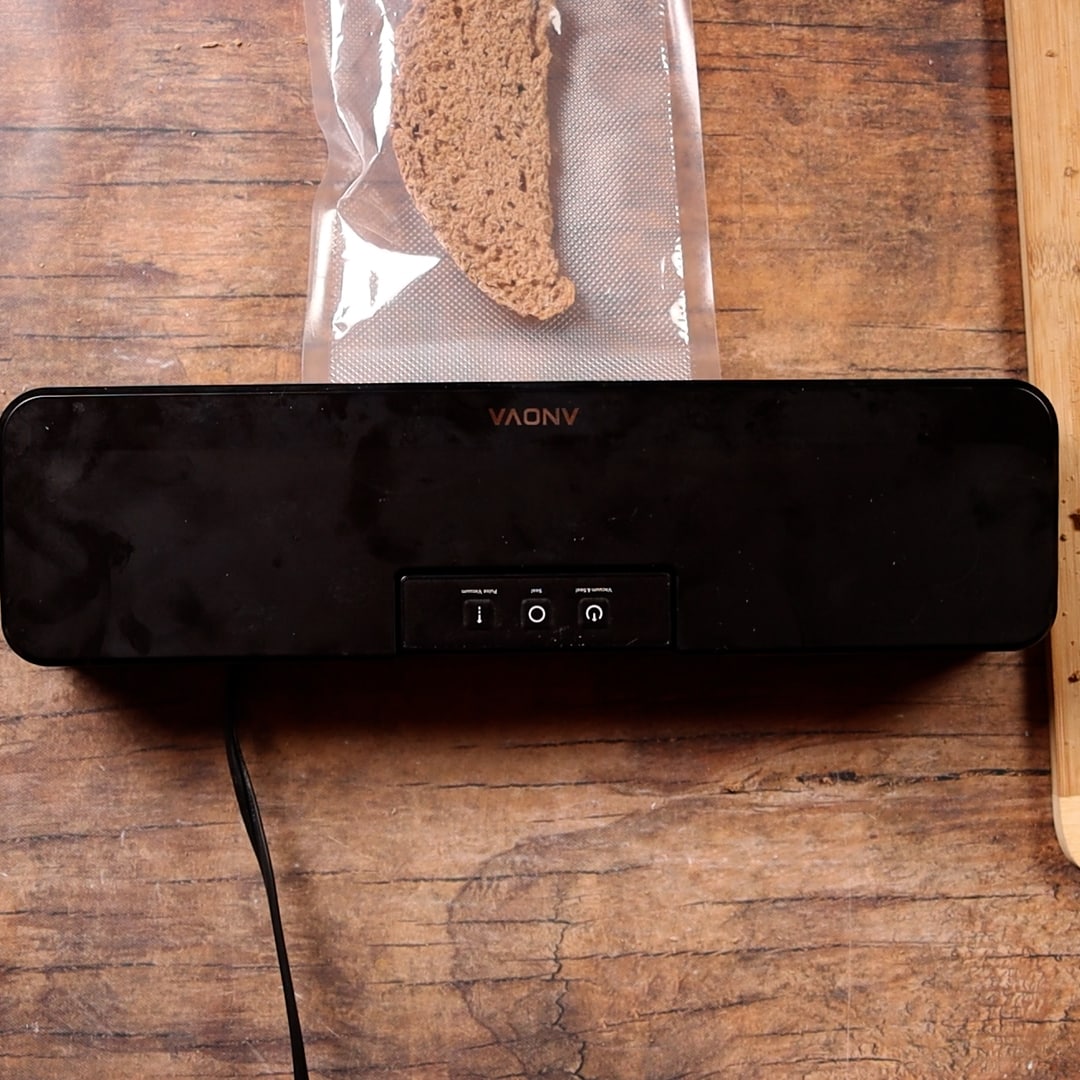
- Grab your Anova Vacuum Sealer. (Step 2)
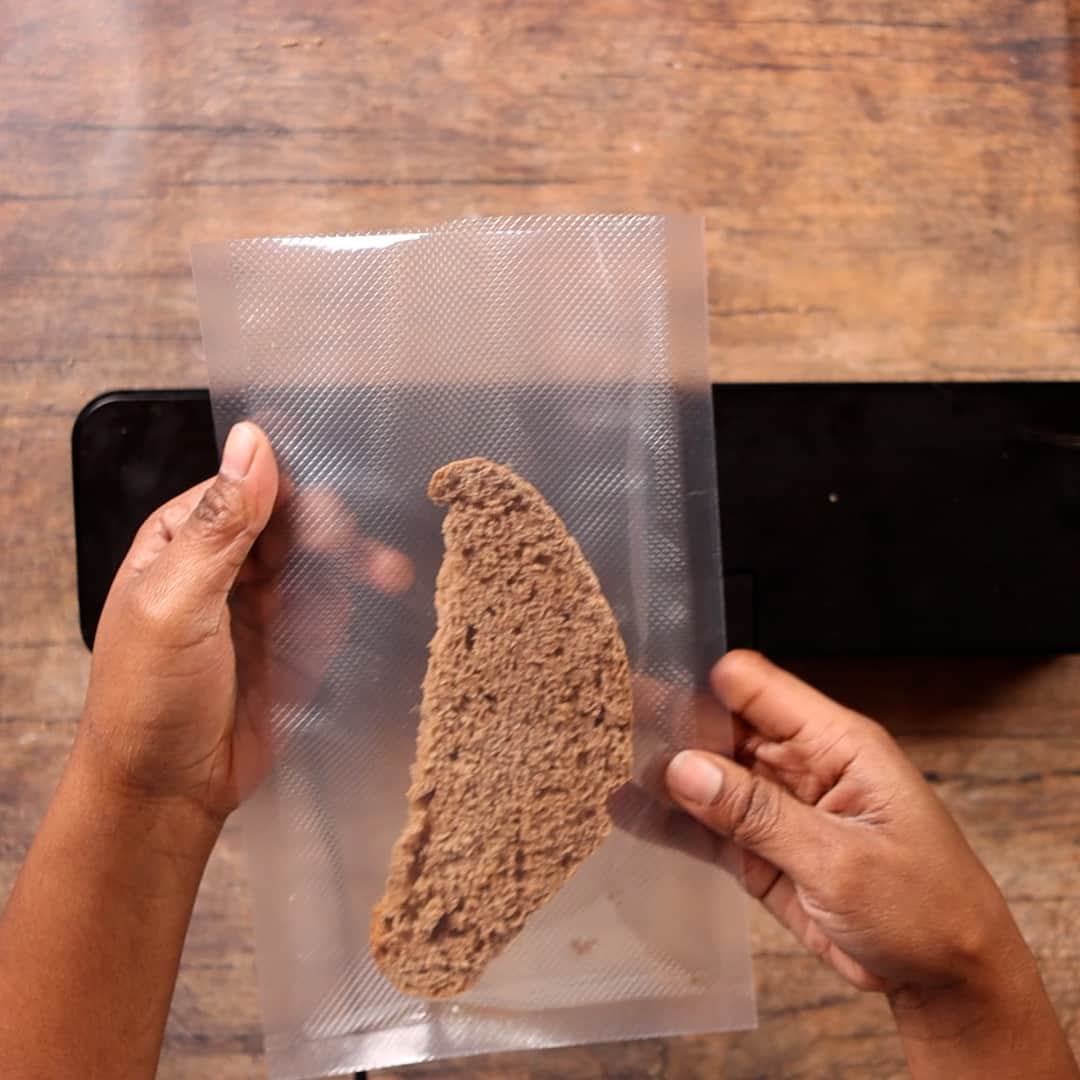
- Grab an Avid Armor Vacuum Sealer Bag and place a slice of bread inside. If you have the gallon bags, you can place 2 or 3 slices inside. (Step 3)
- Place the tip of your bag inside the sealer. Be sure to leave space at the top so that your bag create a seal (don't over stuff your bags). Press down your vacuum sealer on both ends until you hear a click noise. (Step 4)
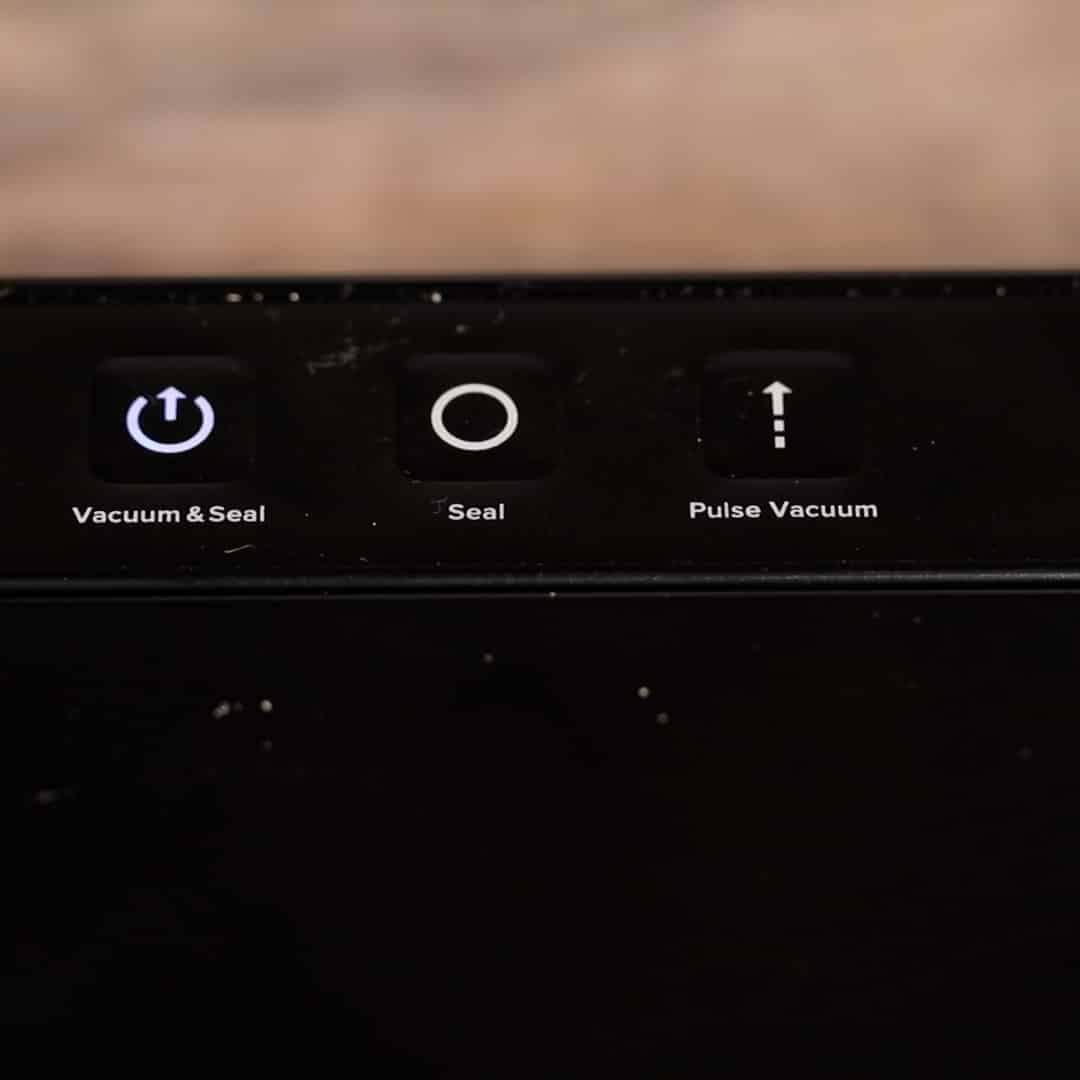
- Next, press either the "vacuum and seal" button or the "pulse vacuum" button to suck the air out. With the "vacuum and seal" button, it will automatically compresses until you press that button again to stop it. With the pulse vacuum button, you will need to keep pressing and "pulsing it" until you have reached your desired amount of compression. (Step 5)
- Once the bag has been vacuumed, press the "seal" button to seal the bags. You will know it is done when the light goes off on the "seal" button. Press the buttons on the side of the Vacuum Sealer to release the bags. You now have vacuum seal bread that will stay fresh for so much longer!(Step 6)
What to Serve with Soda Bread
- vegan cream of mushroom soup
- vegan white bean soup
- vegan white chili
- plant based soup
- king oyster mushroom soup
- with peanut butter and blackberry jam or strawberry chia jam
How To Make Vegan Soda Bread?
*Please read detailed and printable recipe card below for full ingredients and instructions.
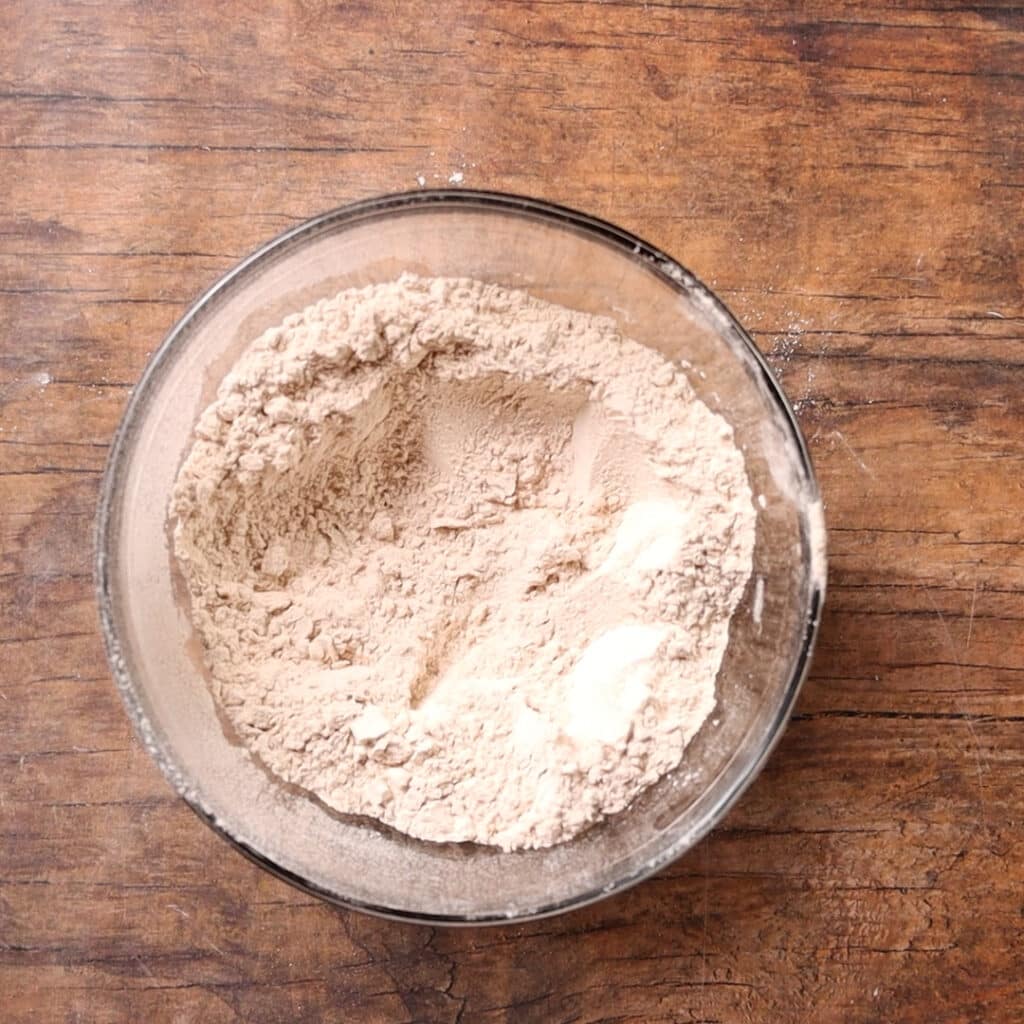
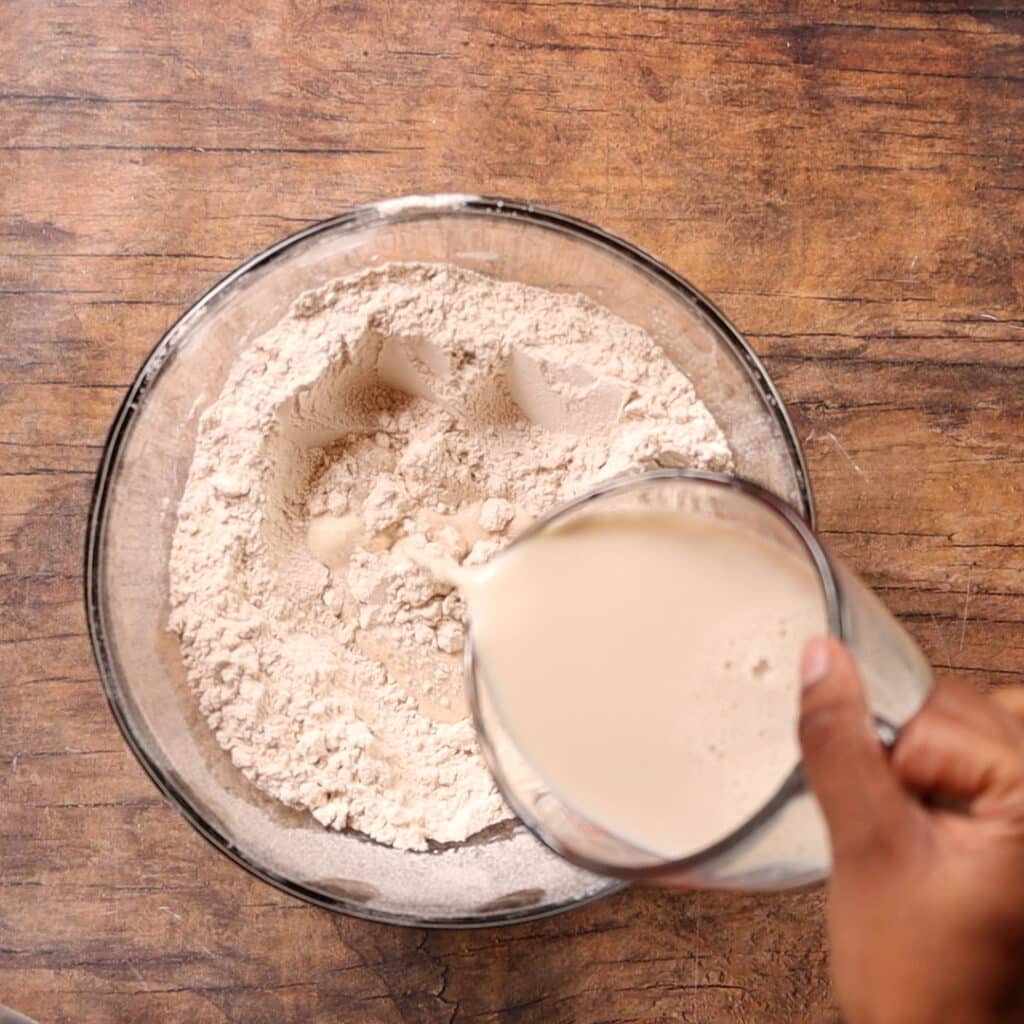
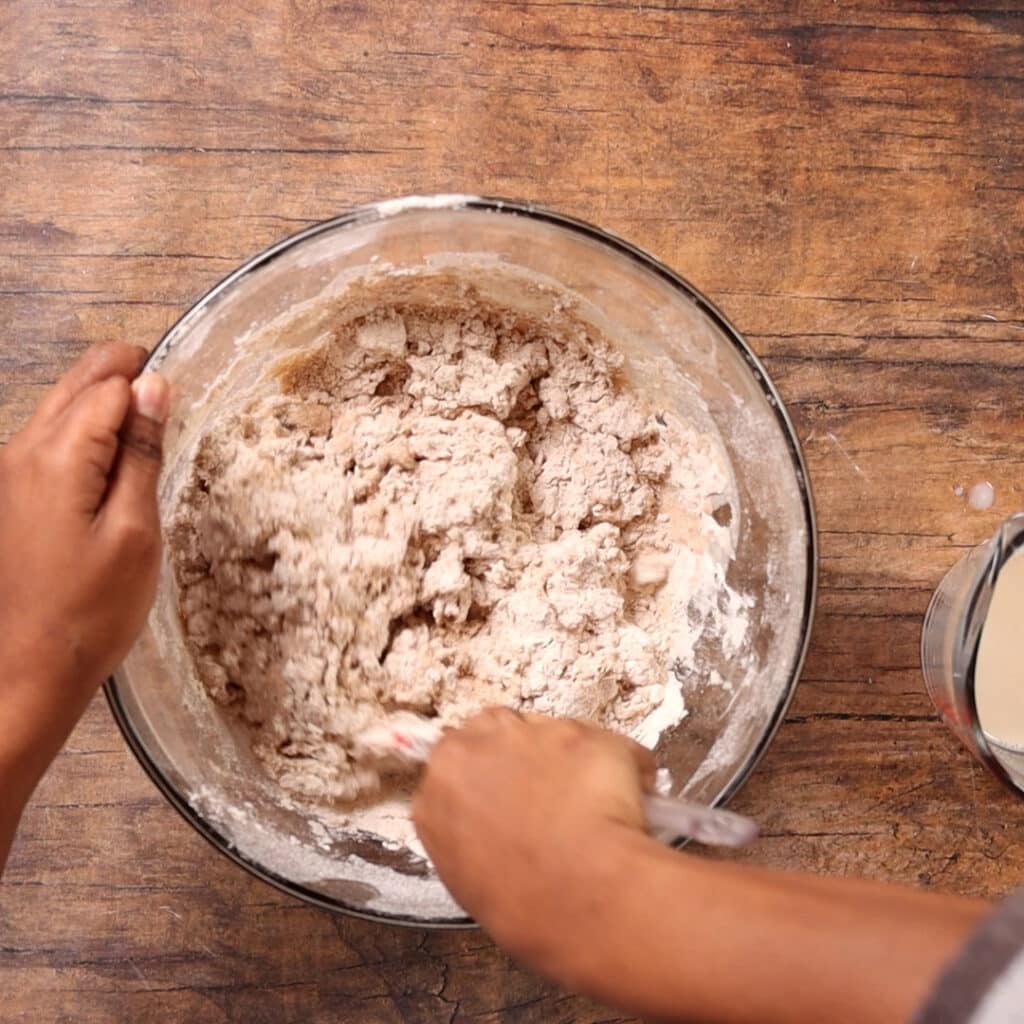
- Add dry ingredients in a bowl and add your milk to the dry ingredients. (Photos 1 & 2)
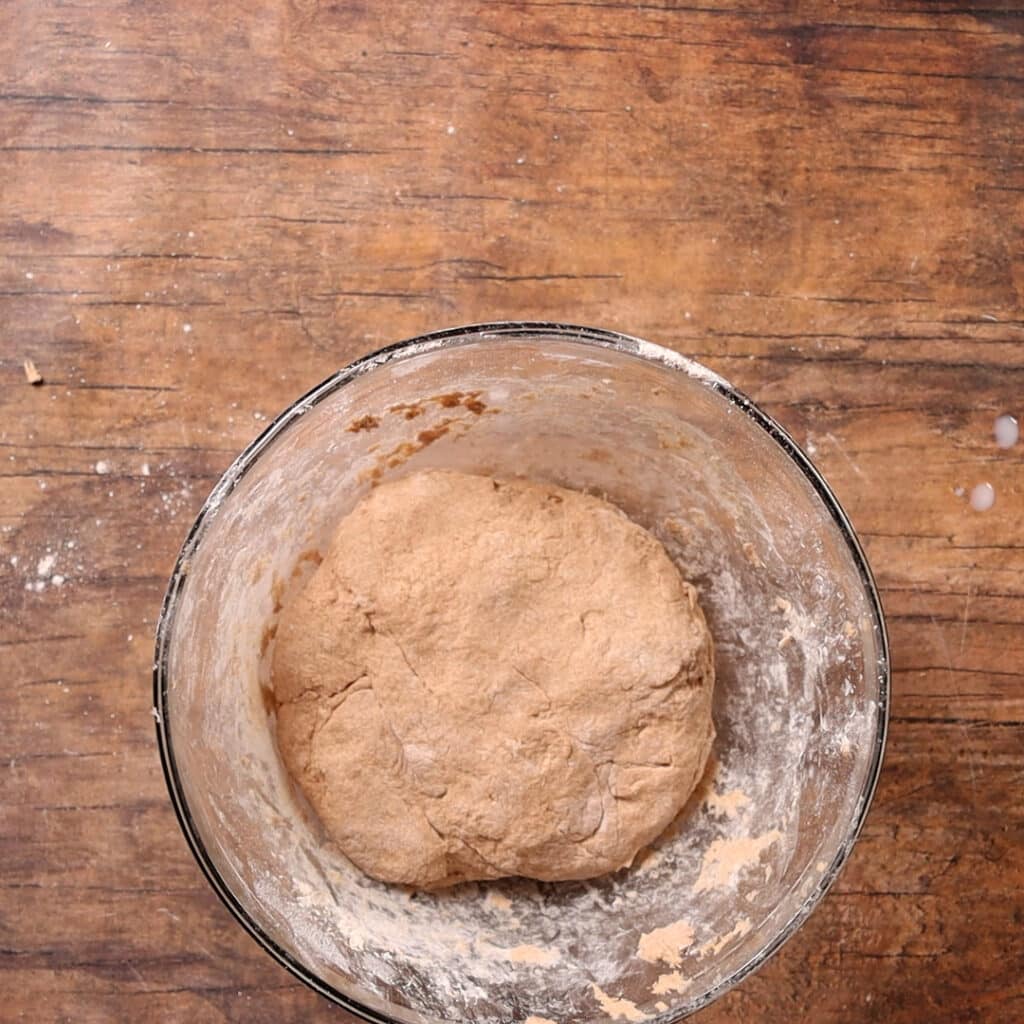
- Mix everything together and start to knead the dough forming it into a ball. (Photos 3 & 4)
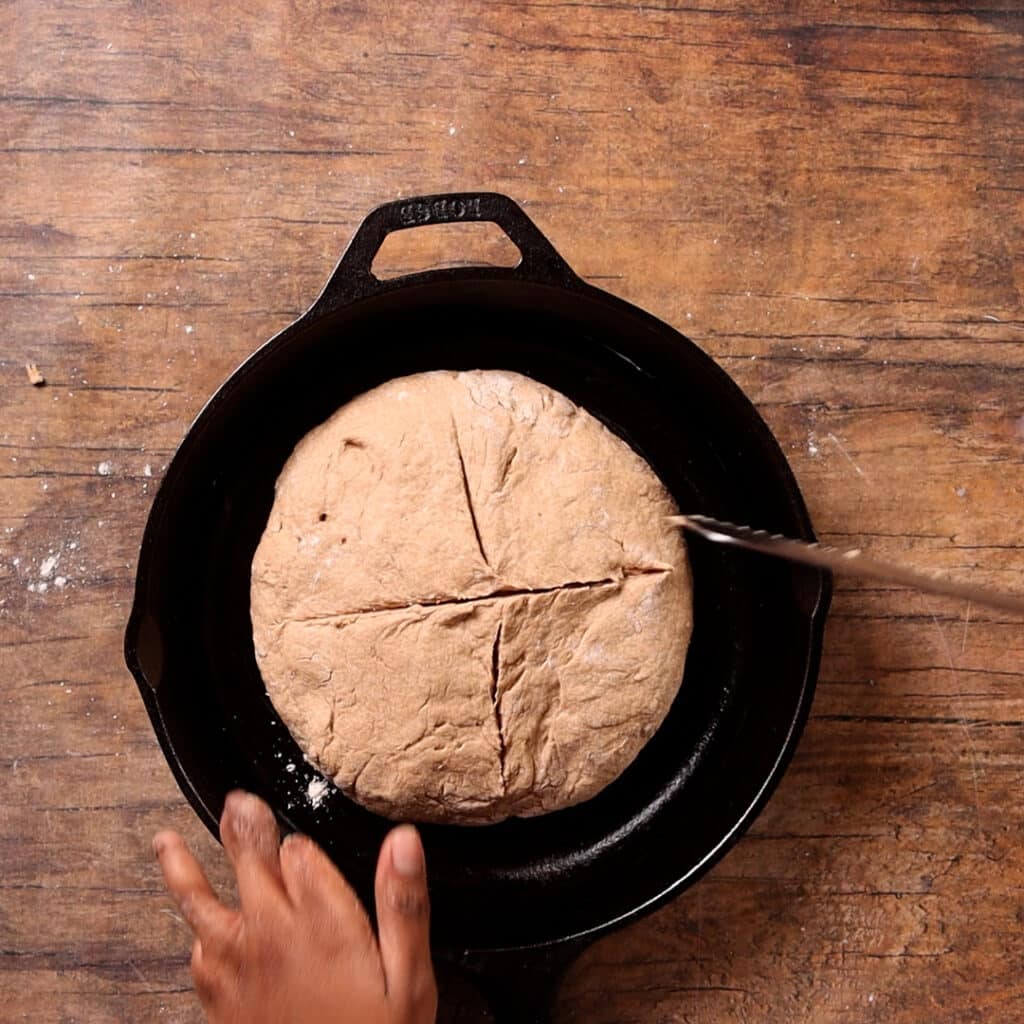
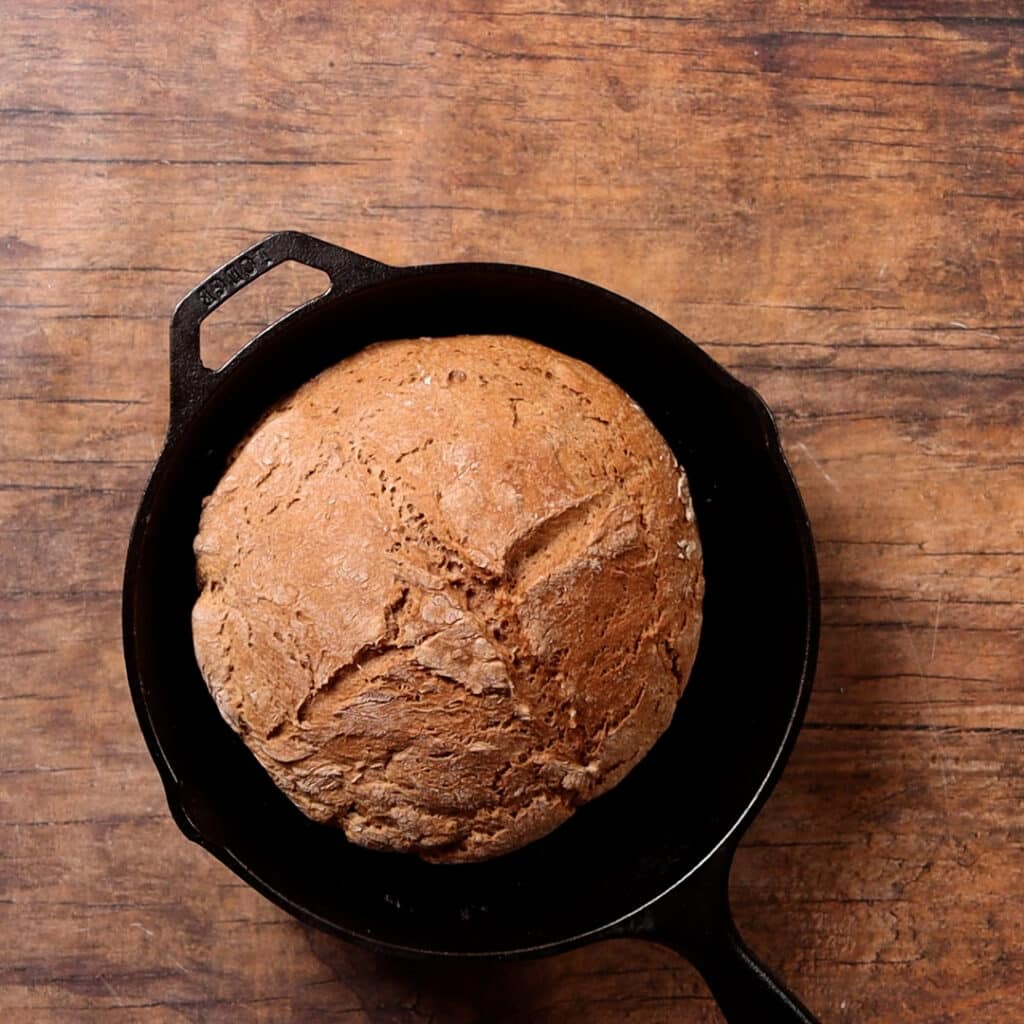
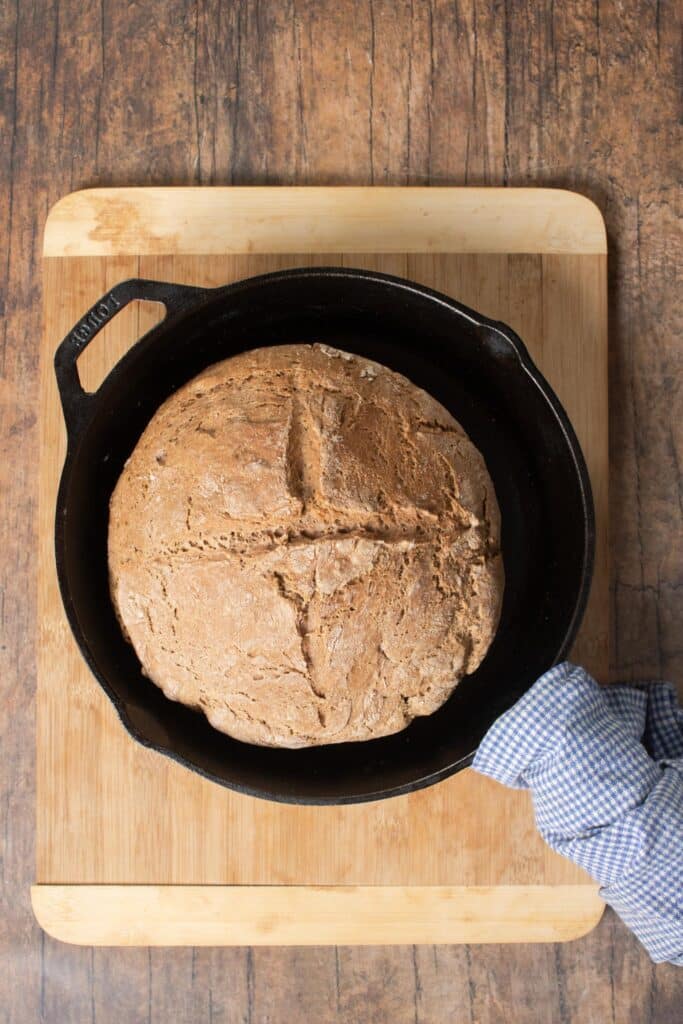
- Score the bread and back until done. (Photos 5 & 6)
SUBSTITUTION, COOK, & STORAGE TIPS
- You can use any flour you have on hand. Keep in mind spelt flour is higher in protein so with regular flour, you will need to recalculate those macros.
- For higher protein content, you can add unflavored, unsweetened protein powder.
- This bread will keep covered at room temperature for 3 days and in the freezer for up to 3 months. However it can last up to a 7 days at room temperature and 1 year in the freezer when it is vacuum sealed. See section above for the best way to store this bread.
More Spelt Flour Recipes
WANT MORE? Subscribe to my NEWSLETTER and follow along on Pinterest, Facebook, and Tik Tok for the latest updates.
Spelt Vegan Soda Bread
Ingredients
- 4 cups spelt flour, leveled note 1
- 1 teaspoon baking soda
- 1 teaspoon sea salt
- 1 teaspoon apple cider vinegar note 3
- 1¾ cup plant based milk note 2
- olive oil or vegan butter (for greasing pan)
Equipment
Instructions
- Preheat oven to 425°F. Stiff flour in a large bowl. Then add baking soda followed by sea salt. Lightly mix together.
- Add 1 teaspoon of apple cider vinegar to milk and mix well. This makes your vegan buttermilk. Pour in your buttermilk into the bowl with the flour. Mix everything together in a bowl.
- Once everything is combine start kneading your dough. If dough is to wet, add a little more flour. If dough is to dry, add a little more milk. NO NEED TO OVER KNEAD YOUR DOUGH. Just enough to form a ball.
- Once you have a dough, lightly greased your cast iron or sheet pan and place dough in pan. Cover the entire pan in aluminum foil and bake for 30 minutes. Once 30 minutes elapsed, take aluminum foil off dish and bake for an additional 10-15 minutes. Serve with your choice of soup like my vegan cream of mushroom soup, vegan white bean soup, or vegan white bean chili.
Video
Notes
- SPELT FLOUR: You can use any flour you have on hand. Keep in mind spelt flour is higher in protein so with regular flour, you will need to recalculate those macros.
- PLANT BASED MILK: Unless you desire a sweet soda bread, use an unflavored vegan milk that is also unsweetened. Also choose a plant based milk that has protein and some fat content for a moist bread. My Hemp Seed Sea Moss milk is perfect for this recipe!
- APPLE CIDER VINEGAR: Do NOT skip this ingredient. You need some type of acid to mix with your vegan milk to make buttermilk. You can also use lemon or lime juice.
- NOT A DR. SEBI RECIPE: Keep in mind this is not intended to be a Dr. Sebi "Alkaline" vegan recipe. If you substitute ingredients, you do so at your own risk.
- USING A SCALE: Weighing your flour in the grams listed (once you click the metric button) will be more accurate than using cups. If you do use cups, make sure the flour is leveled.
Nutrition
As an Amazon Associate, I earn from qualifying purchases. Please read my full Affiliate Disclaimer.
© Gina Marie Hoskins. Vegan With Curves. All Rights Reserved. Unless noted otherwise, all images, recipes, & content are copyright protected and registered with the U.S. Copyright Office. My images and written content are NOT to be used without prior permission. Read full Copyright Disclosure.
© Gina Marie Hoskins. Vegan With Curves. All Rights Reserved. Unless noted otherwise, all images, recipes, & content are copyright protected and registered with the U.S. Copyright Office. My images and written content are NOT to be used without prior permission. Read full Copyright Disclosure.

Allyssa
Thank you so much for sharing this amazing recipe! Will surely have this again! It's really easy to make and it tasted so delicious! Highly recommended!
Gina Marie
Thank you!!! So glad you enjoyed it!
Rae
Made this twice and it’s a winner!!
Gina Marie
So happy to hear that!